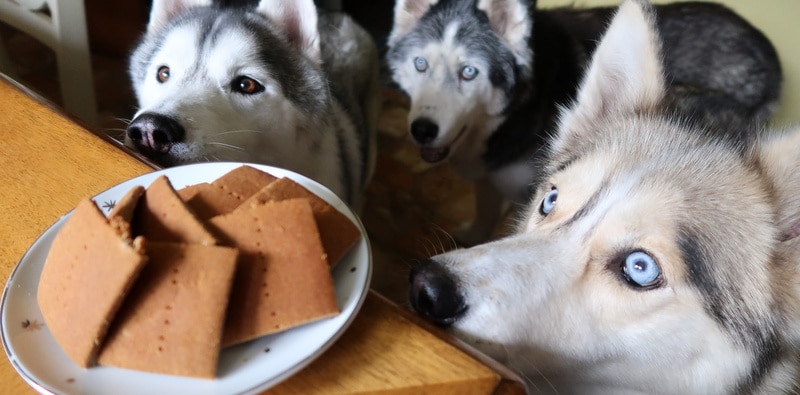
Today we are making a special DIY Dog Treat that you guys have been suggesting in the comments! Today we are making DIY Oreo Dog Cookies! Before we go any further, I want to point out there is NO CHOCOLATE in this recipe. There is NO COCOA in this recipe. The product we use to make the cookies this color is called CAROB POWDER which you can find at your local grocery store, or order online at http://amzn.to/1NvF1RQ (affiliate link) . Let’s get to the treat making process!

Ingredients
1/2 cup CAROB Powder
1 1/4 Cups Whole Wheat Flour
1 tsp. Baking Soda
1/4 tsp Baking Powder
1/4 tsp Salt
1 Large Egg
1/2 Cup Honey
1/2 Cup Unsweetened Applesauce
Creamy Filling
80z Cream Cheese Softened
1/4 Cup Unsweetened Coconut Milk (or low fat milk)
1 tsp Vanilla (Optional)
Preheat your oven to 350 degrees Fahrenheit. Line your cookie sheets with parchment paper and place them into the oven while it’s preheating. Remember, these pans will be HOT when you start placing your cookies on them, so be very careful. In a large bowl, whisk together whole wheat flour, carob powder, baking soda, baking powder, and salt. Make a small well in the middle of the dry ingredients and add 1 beaten egg, honey, and applesauce. Mix it all together! The dough will be slightly moist and sticky.
Gently roll the dough out into a log. It should be about 3 inches in diameter (or about the size of an Oreo cookie). Using a sharp knife (or fishing line if you have it), slice through the log at about 1/4 inch to 1/2 inch thick. They will rise slightly, so depending on how tall you want your cookies, slice them a bit thicker or thinner. The dough will smash slightly, but it will be easy to form into the circle shape that we need. Try to make your cookies all the same side, and place them on the preheated cookie sheet. Place in the oven for about 10 Minutes. When the cookies are done, let them cool on the pan for 10 – 15 minutes, then place them on a cooling rack.
Now while your cookies are baking, you can prepare your cream filling. In a small bowl combine cream cheese, unsweetened coconut milk, and vanilla (optional). Mix together with a hand beater until the filling is nice and smooth. Set aside.
Once the cookies are completely cool (this is very important, as the creamy filling will melt if the cookies are still hot), you can now put the filling in the middle of the cookies. I used a butter knife to spread a small amount of creamy filling onto one cookie and then placed the second on top! Ta Da! Doggy Oreo Cookies!

Now they are ready for your pets to enjoy! I store these cookies in an air tight container in the refrigerator for up to 2 weeks, but in our home, they usually don’t last that long anyway! Now, let’s see what the girls think!


Well I think they were a hit! The dogs really enjoyed them!
Once again, the dogs enjoyed these treats! Be sure to share this recipe with your friends!
MORE Treat videos: https://www.youtube.com/playlist?list=PL400F1C1759E6AF49
* Please note that I’m neither a vet nor an animal nutritionist, so it’s advisable to consult with your own authority when trying new foods, and also to ensure that your dog’s home cooked diet is balanced & includes all of the nutrients that are necessary for your dog’s health.


